ACTIVITY 1 Installing WordPress
CMS Locally
To demonstrate the installation and configuration of WordPress on a local environment for development and testing purposes.
Description & Steps
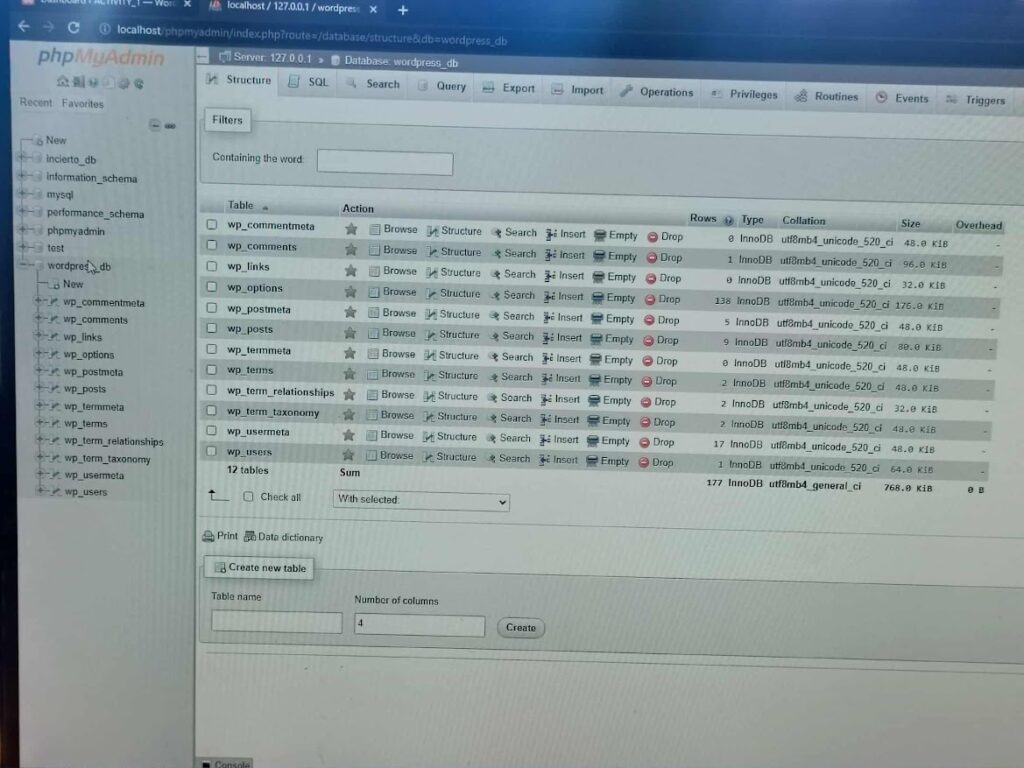
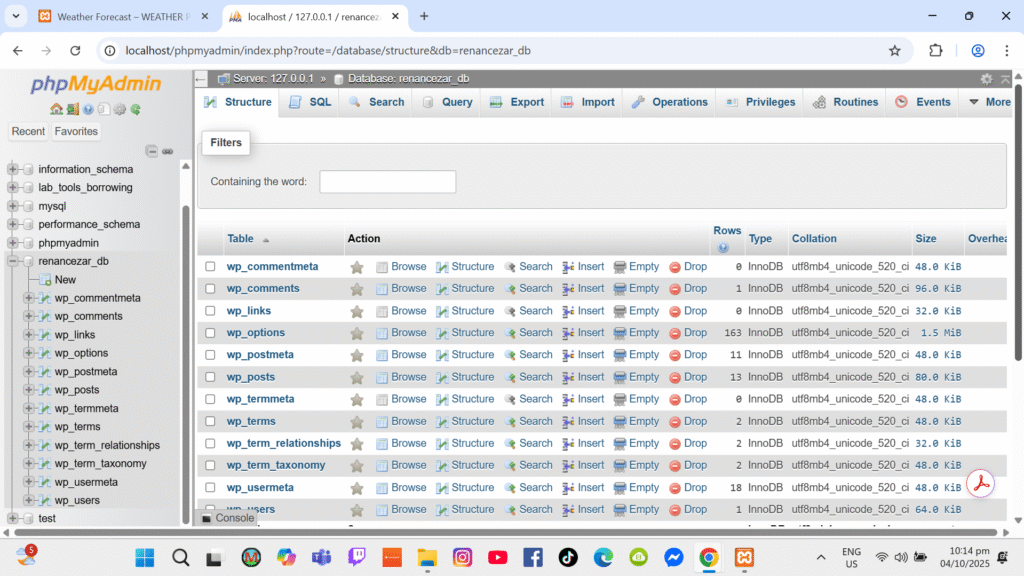
“WordPress was installed locally using XAMPP / WAMP / LocalWP (whichever you used). A local database was created in phpMyAdmin, and WordPress files were configured to connect to it. This environment allows plugin development, theme customization, and testing without affecting a live site.”
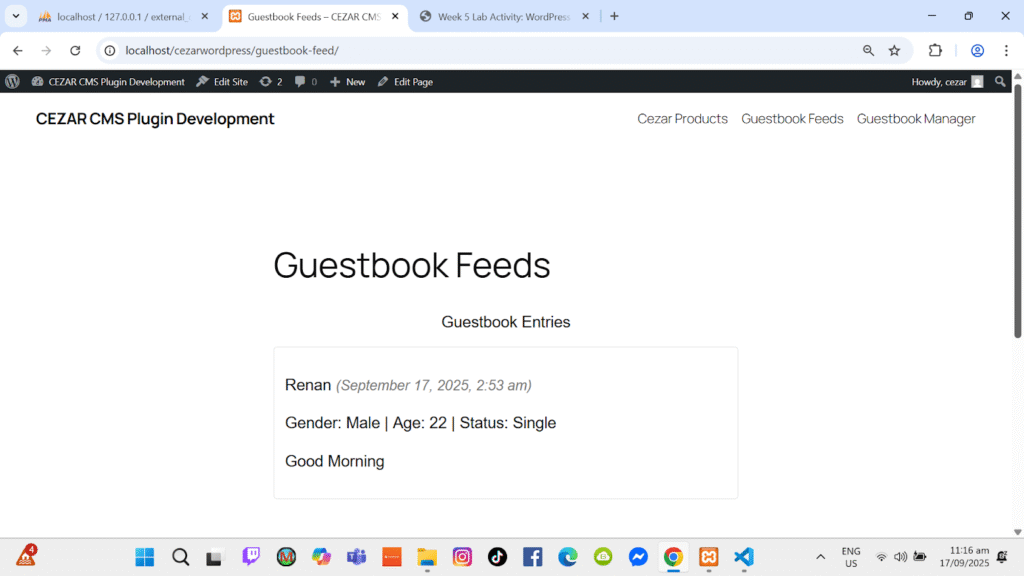
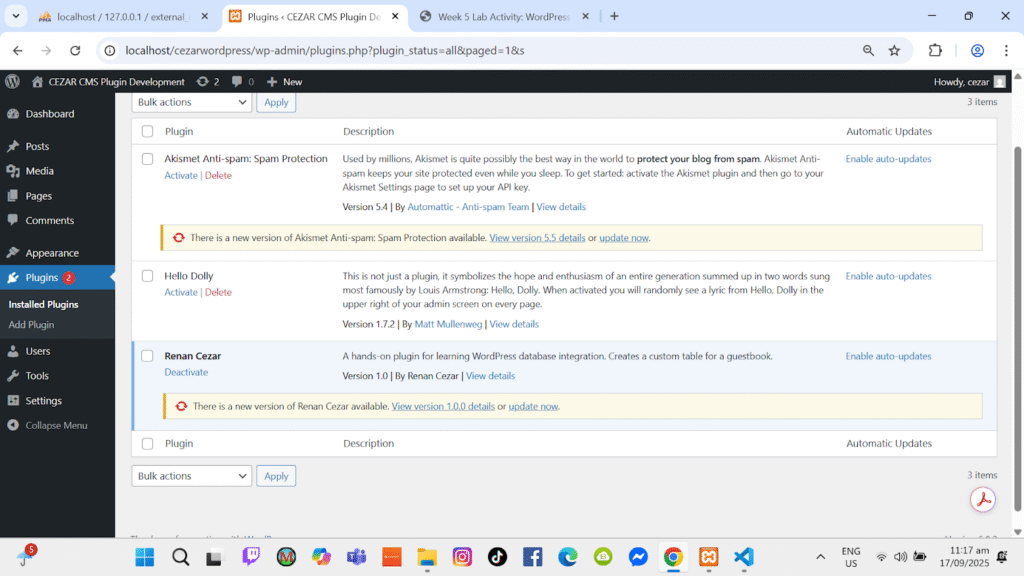
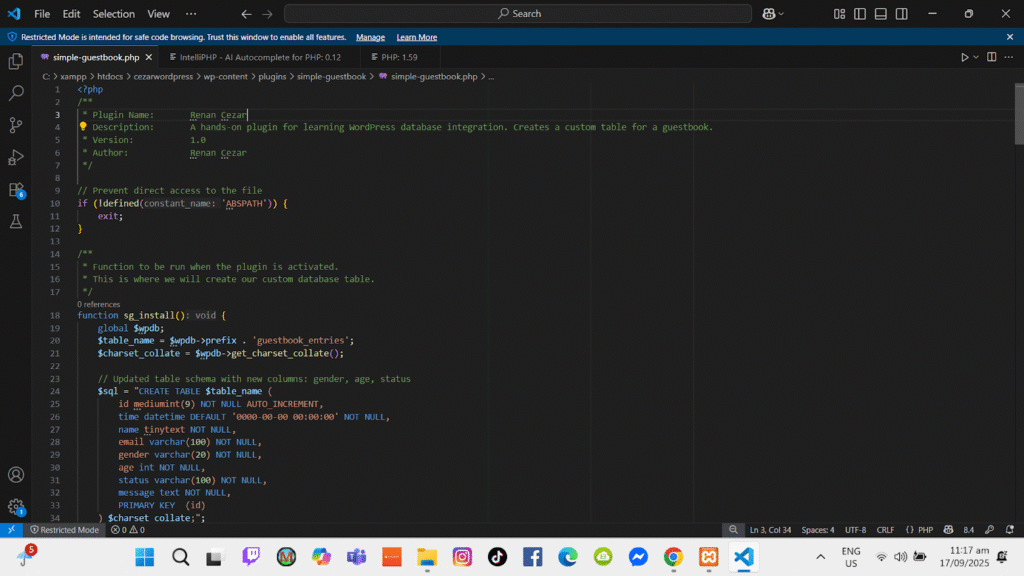
ACTIVITY 2 SIMPLE GUESTBOOK
✅ Live guestbook form on a page
✅ Submitted entries
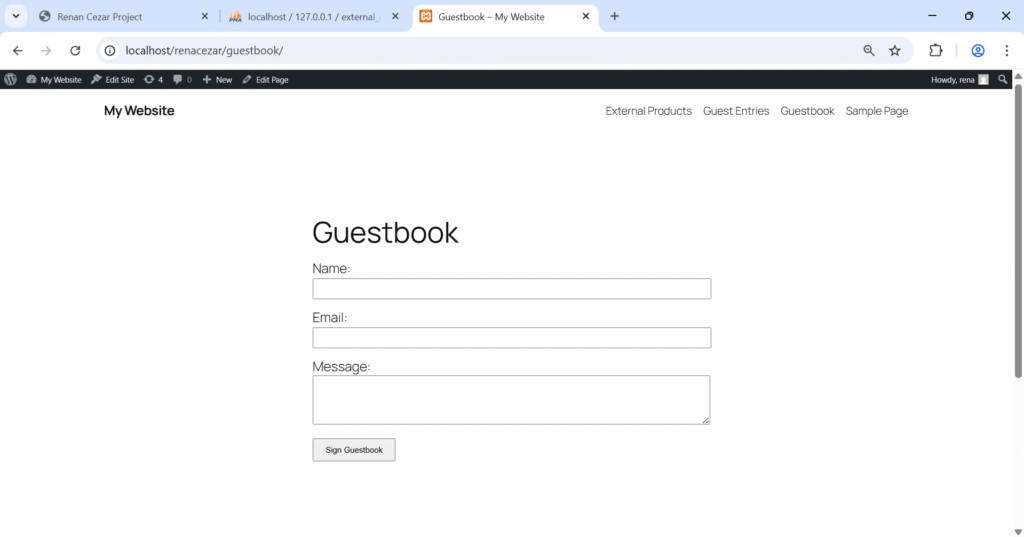
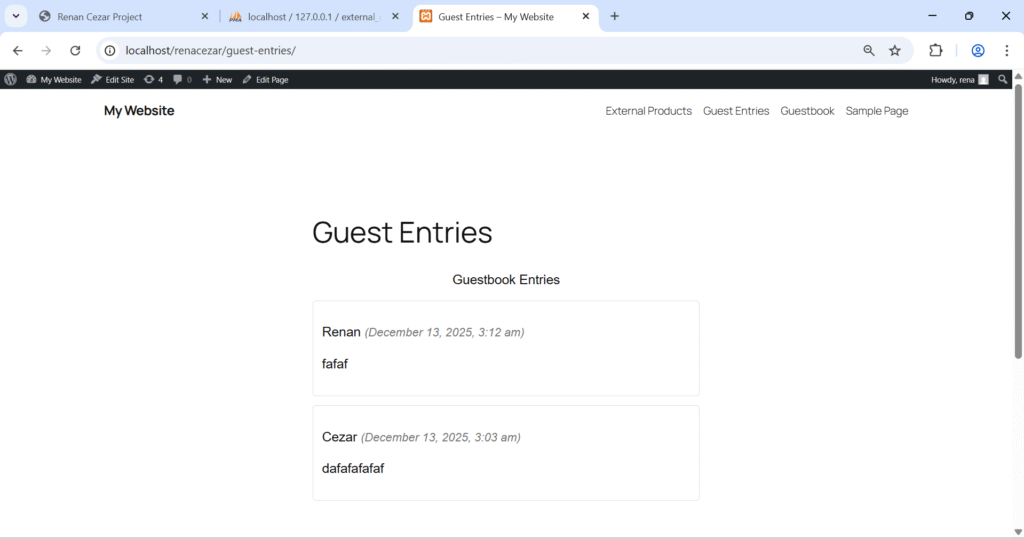
Description & Steps
This custom Guestbook plugin allows visitors to submit messages which are stored in the WordPress database. I created a custom table during plugin activation and displayed the entries using a shortcode.
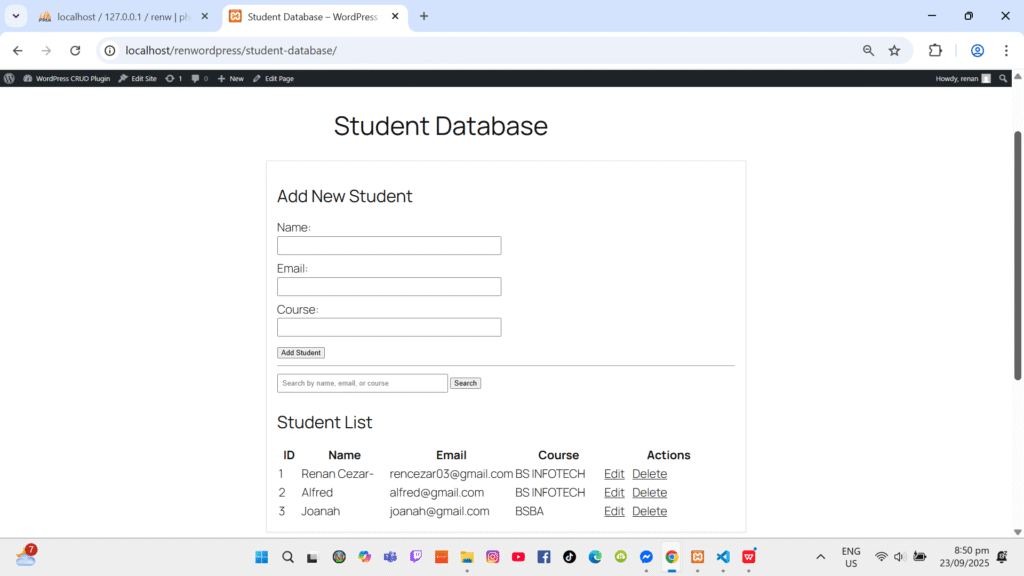
ACTIVITY 3 CMS PLUGIN
To demonstrate a custom Content Management System plugin with extended data attributes.
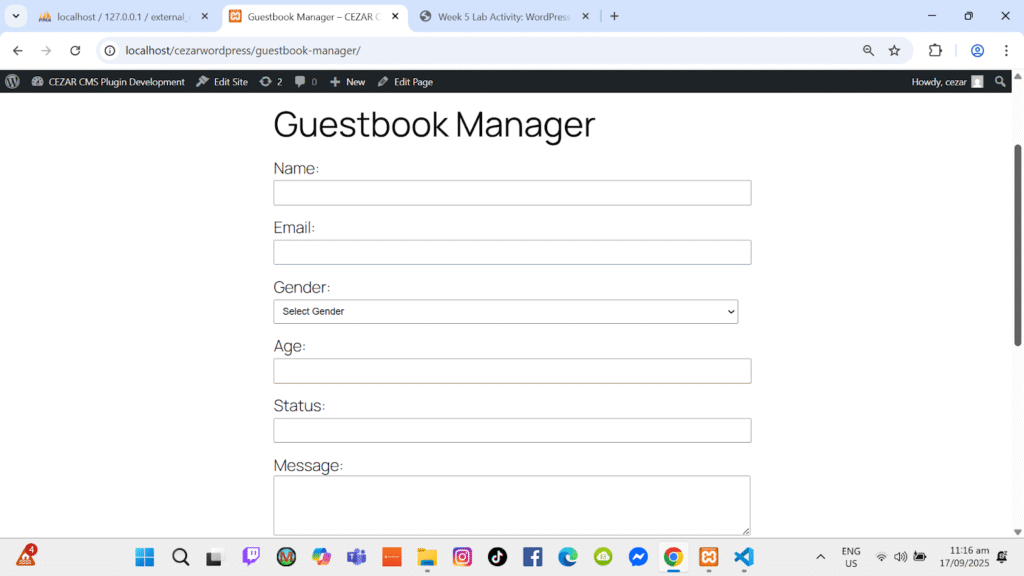
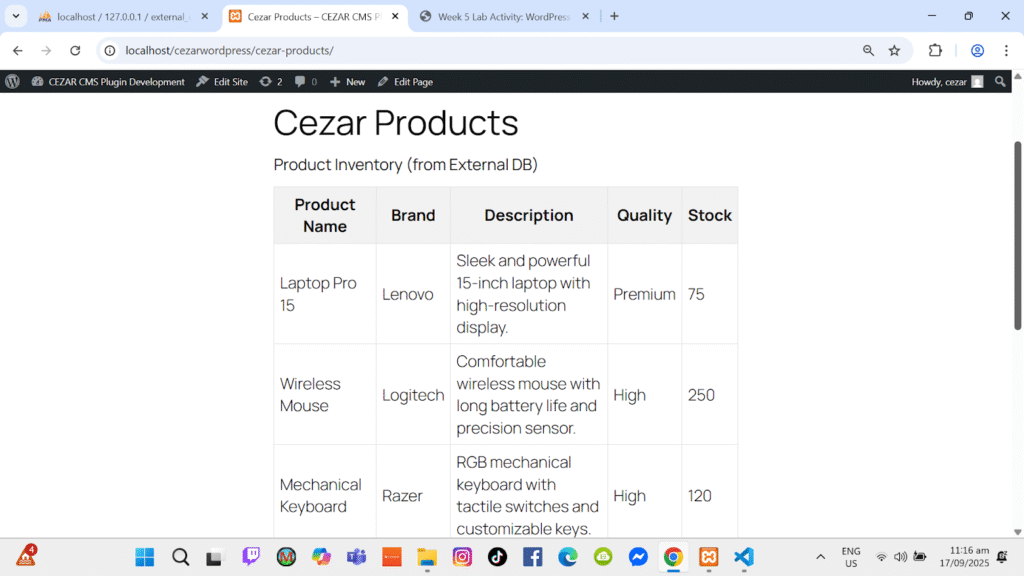
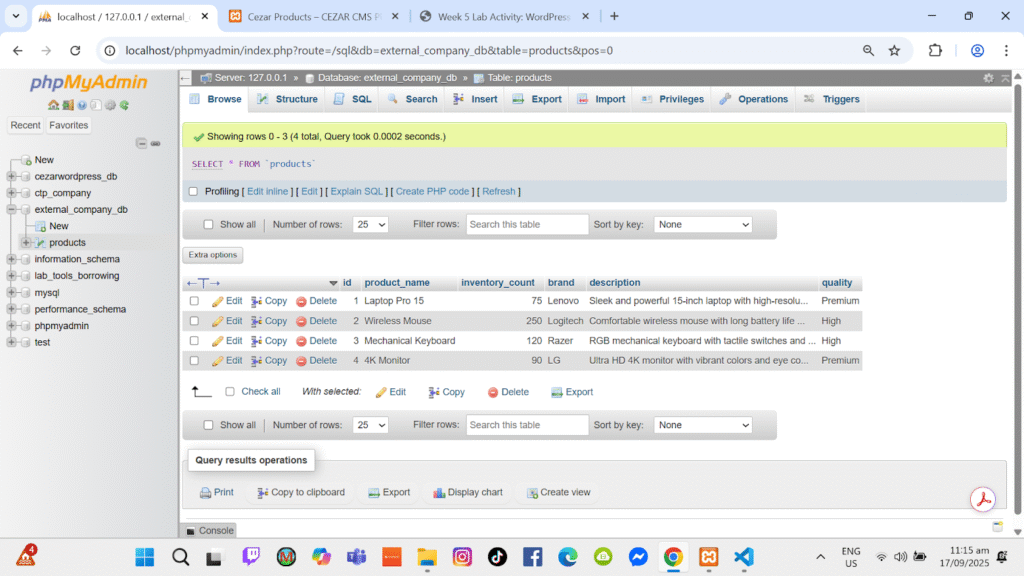
Description & Configuration
“This CMS plugin extends the basic Guestbook concept by adding structured fields such as age, gender, and status. It allows administrators to manage, update, and organize submitted records more effectively, demonstrating enhanced data handling and content management in WordPress.”
ACTIVITY 4 Building a WordPress CRUD Plugin
This plugin demonstrates full CRUD functionality using a custom admin menu. Data can be added, edited, and deleted from the WordPress backend.

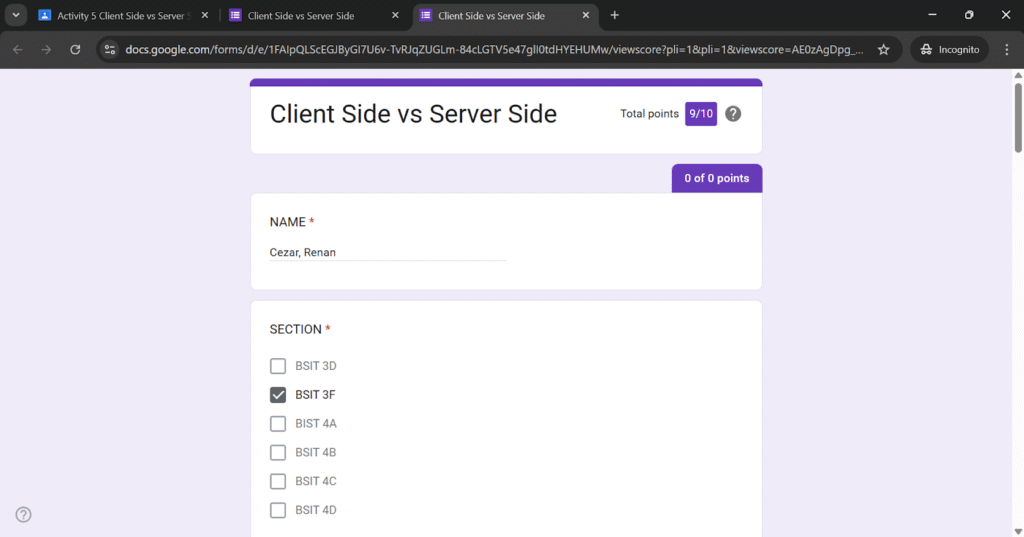
ACTIVITY 5 Client Side vs Server Side
ACTIVITY 6 Building a WordPress Weather Plugin with a Third-Party API
The objective of this activity is to demonstrate integration of a third-party Weather API into WordPress using a custom plugin
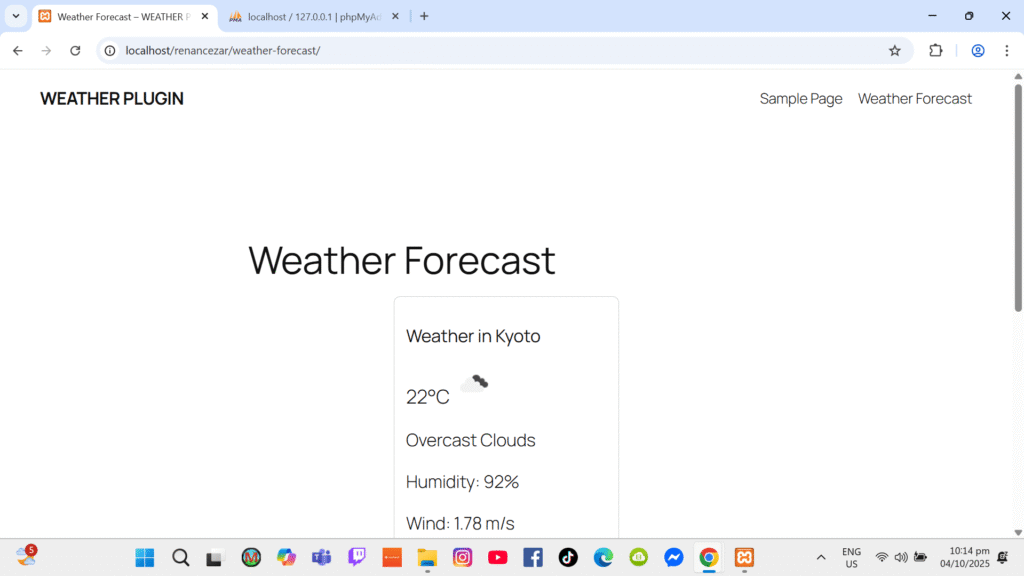
Description & Configuration
“A custom Weather API plugin was developed to fetch real-time weather data from an external API. The plugin uses a WordPress shortcode to display weather information on the frontend. API requests are handled using PHP, and basic caching is implemented to reduce repeated API calls.”
Website Deployment & Management (Project)
✅ Live website URL (clickable)
✅ Screenshot of Hostinger dashboard
✅ Steps summary


The website was deployed using Hostinger by uploading WordPress files, configuring the database, and connecting the domain. After installation, plugins and themes were configured.
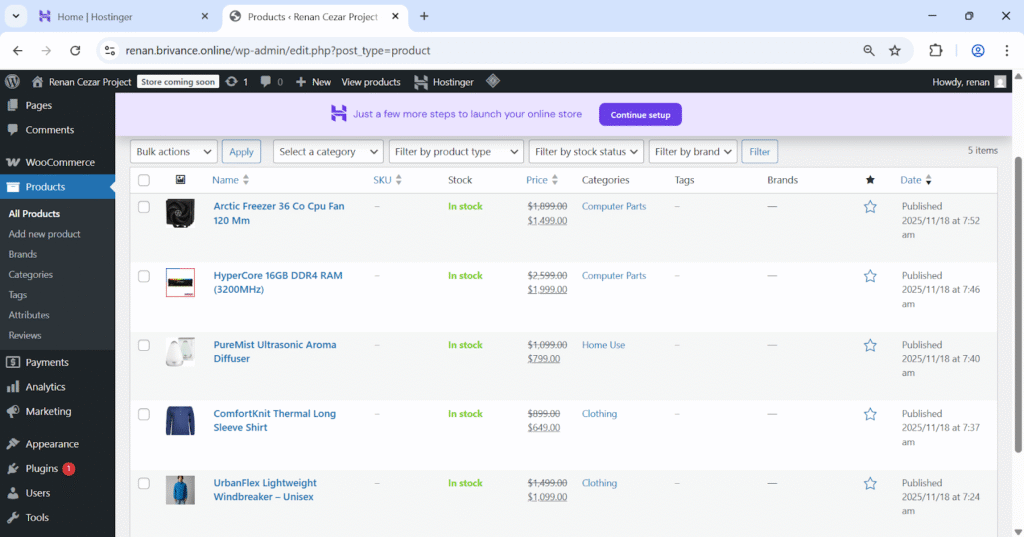
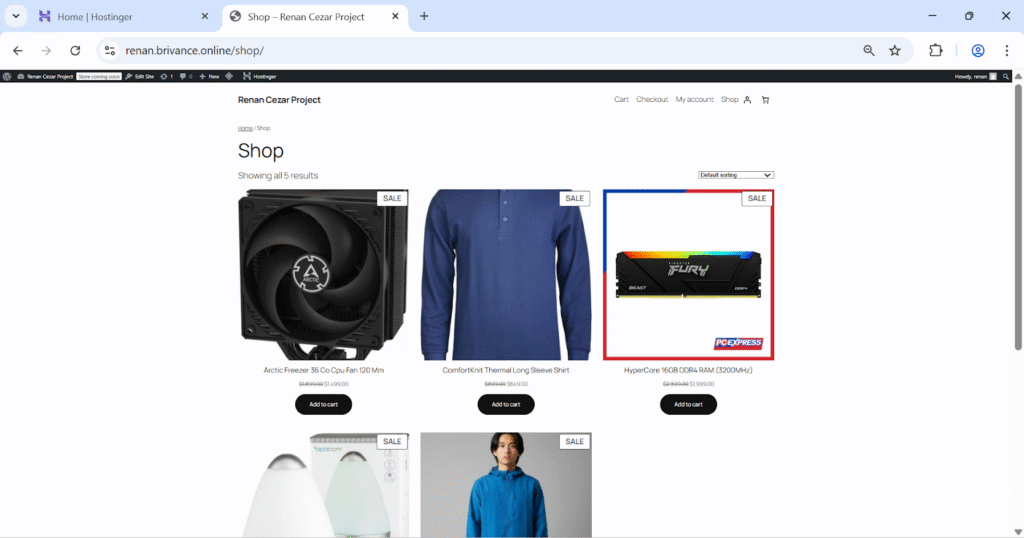
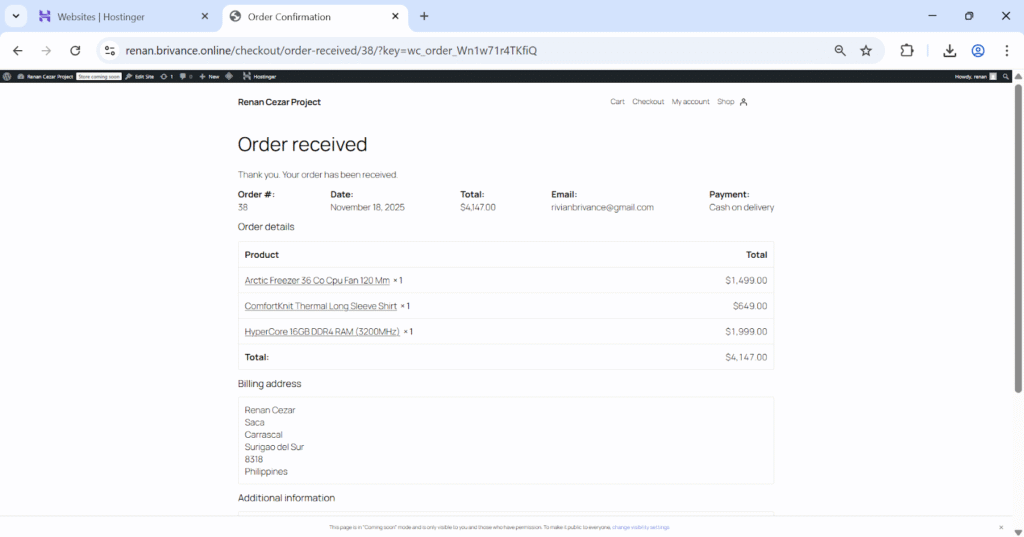
E-Commerce Plugin
WooCommerce was installed and configured to enable e-commerce functionality. Products, prices, and shop pages were set up successfully.

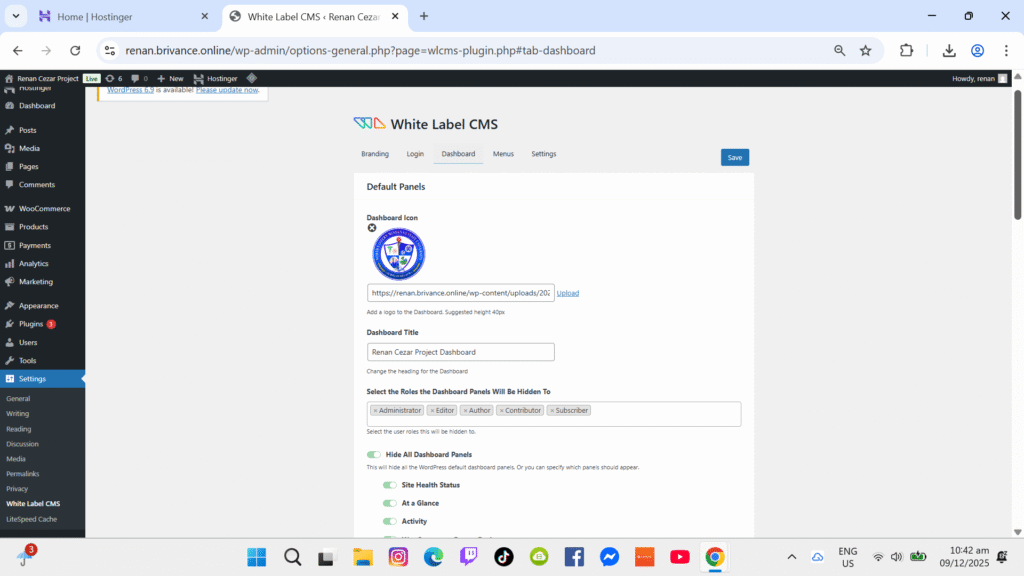
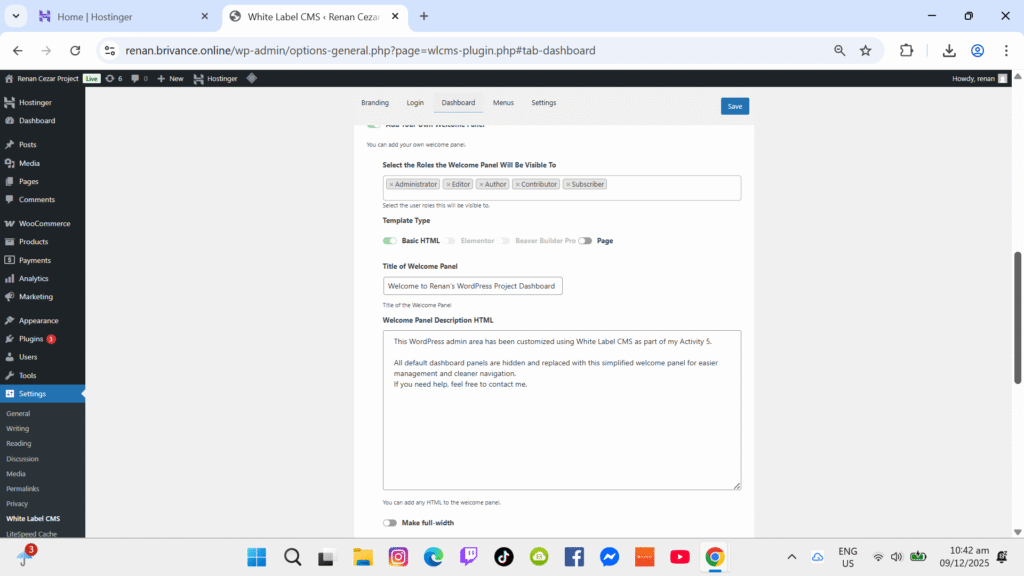
WHITE LABEL PLUGIN
The White Label plugin was configured to customize the WordPress admin interface, removing default branding and creating a personalized dashboard.

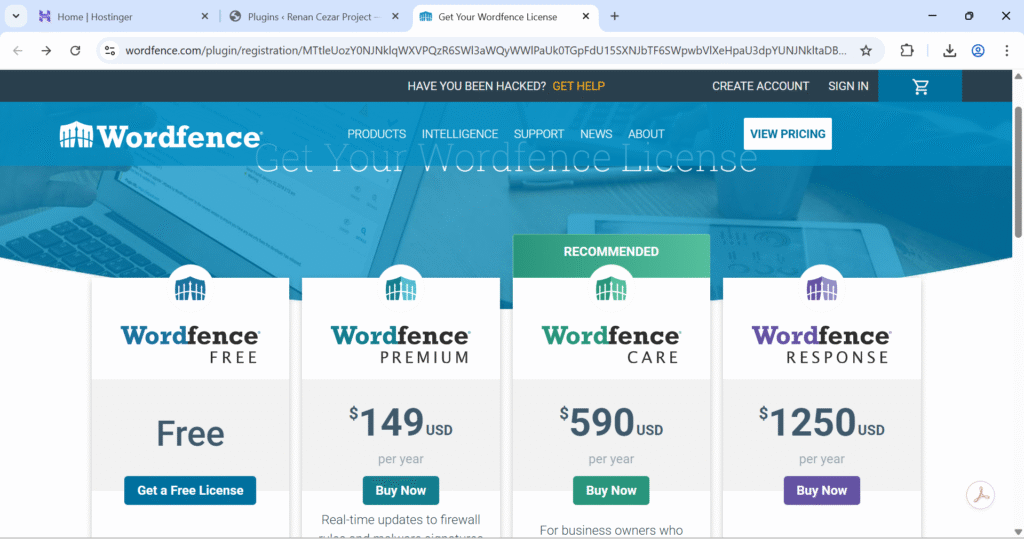
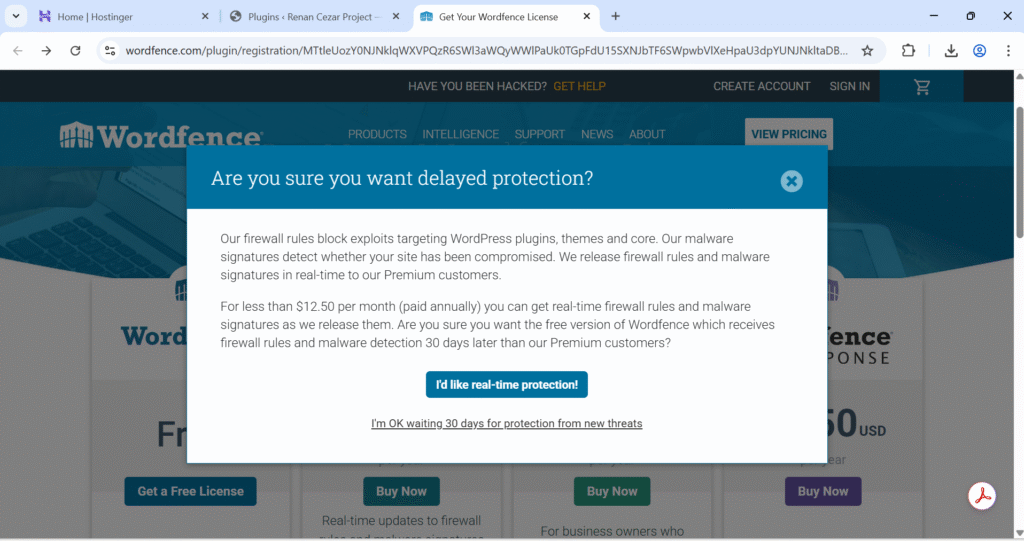
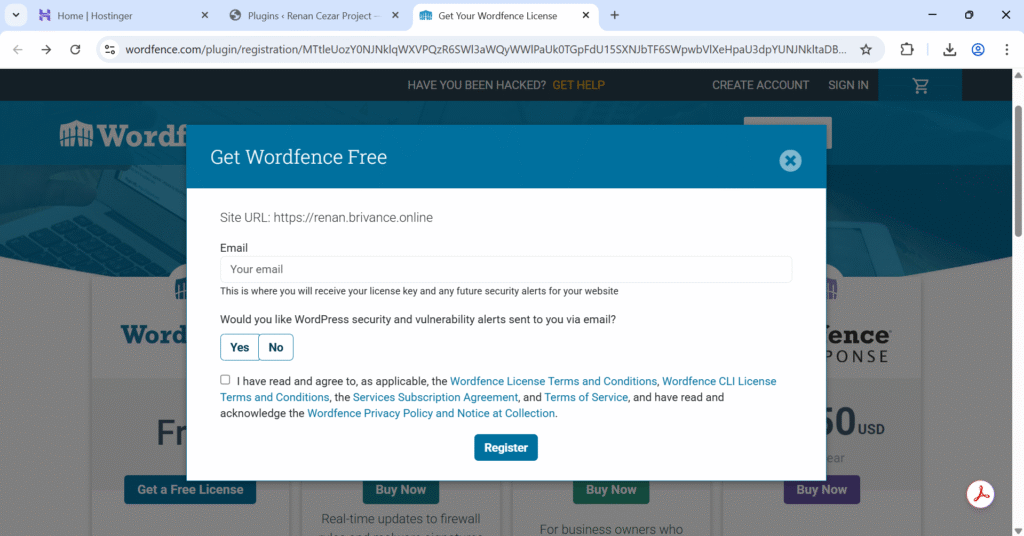
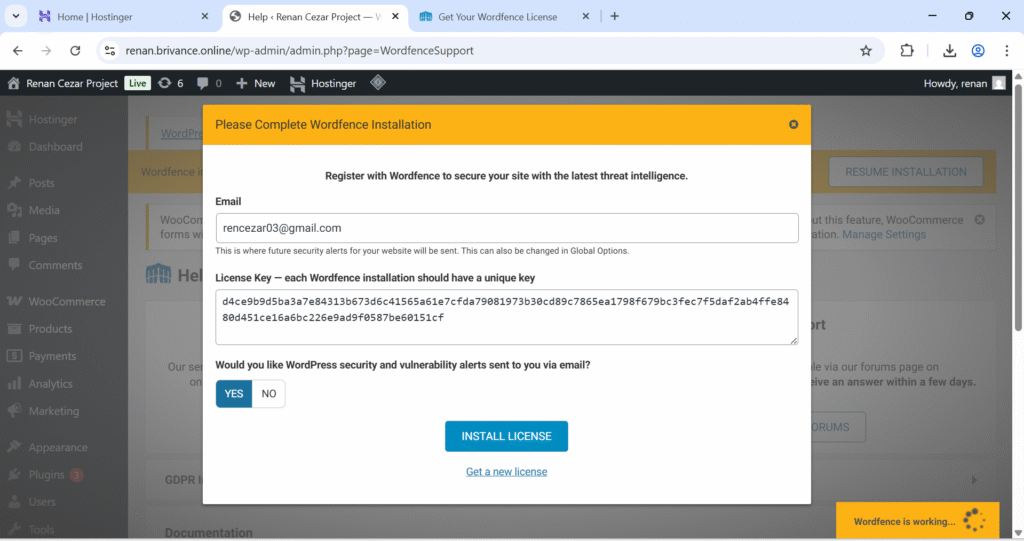
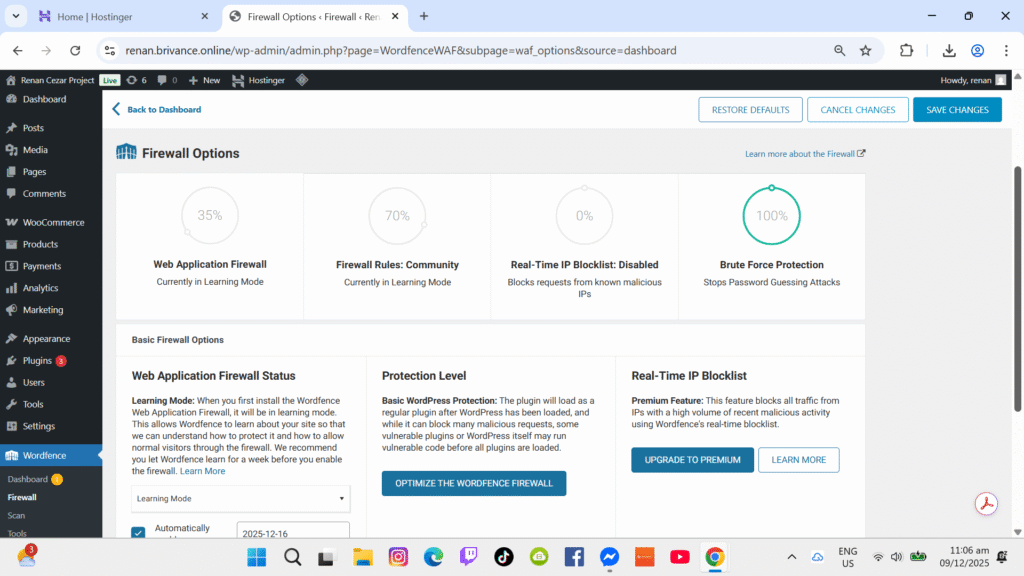
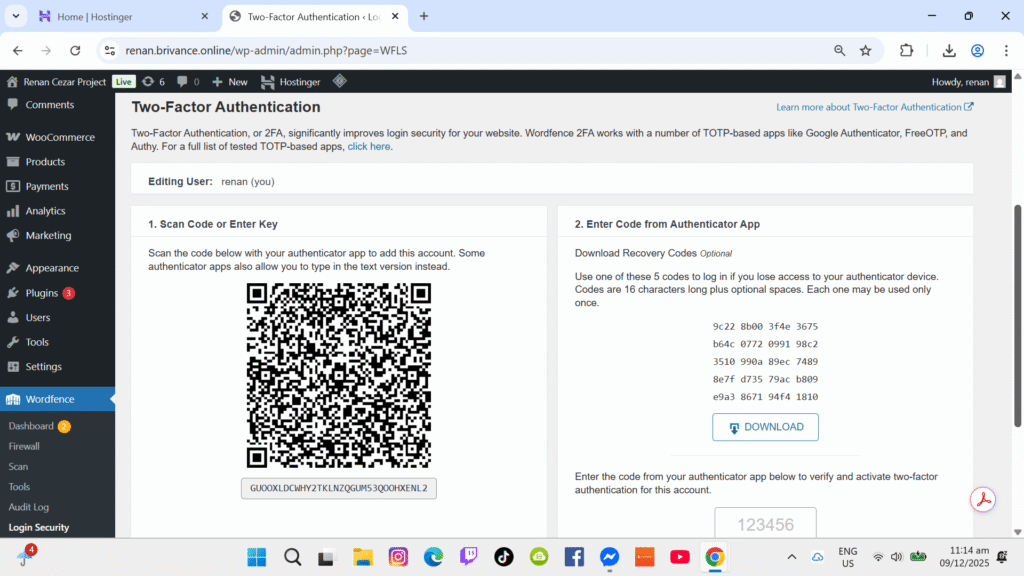
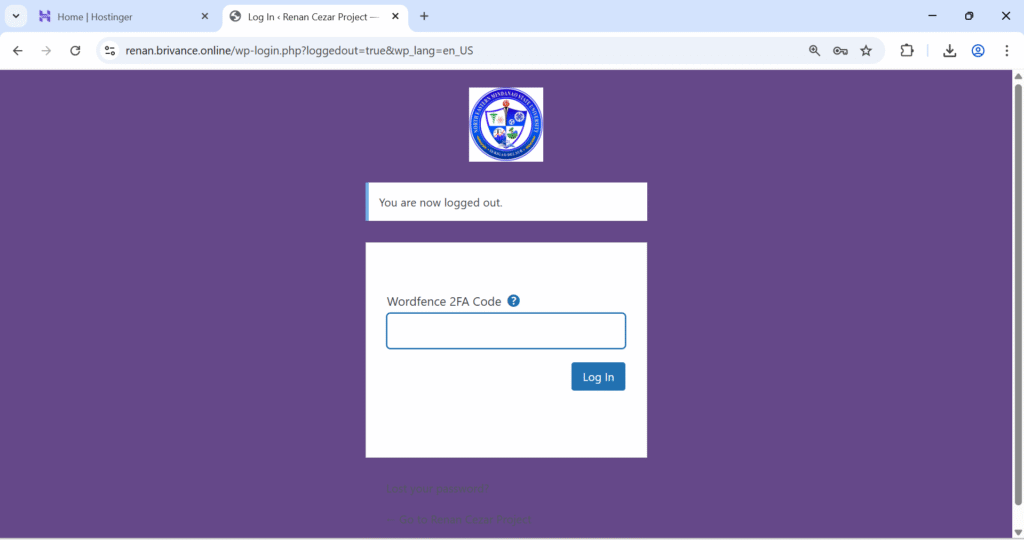
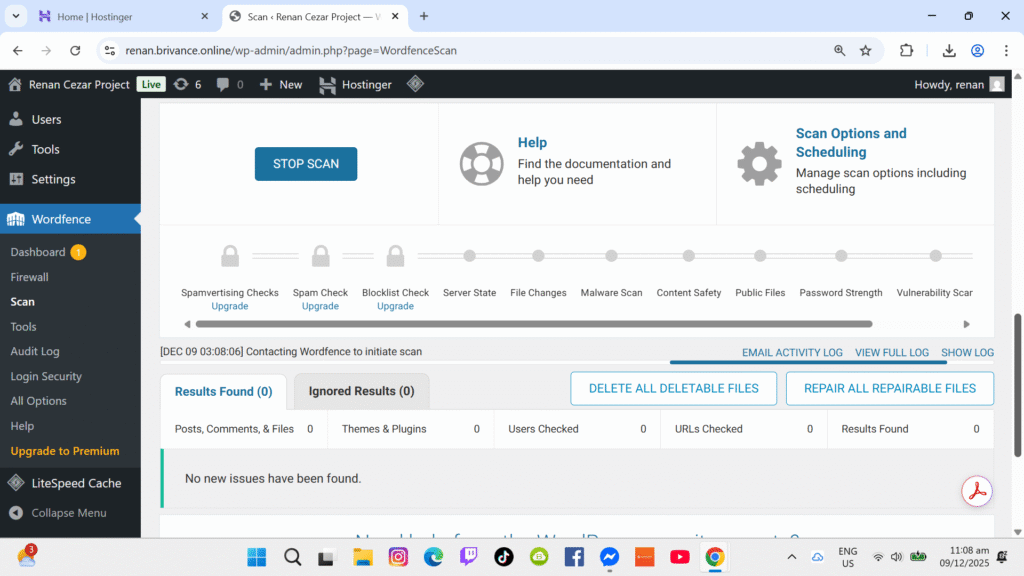
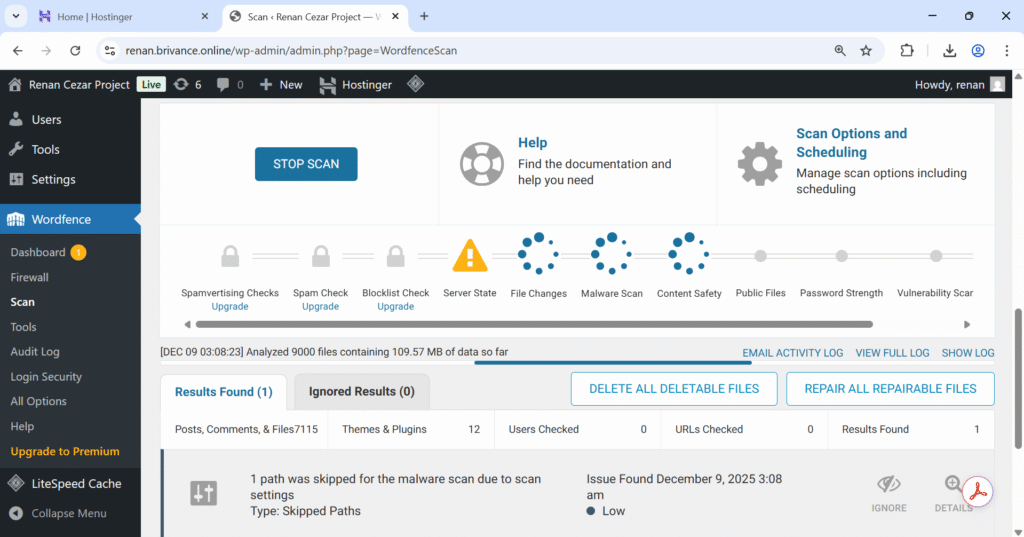
WORDFENCE WITH 2FA
WordFence was installed to enhance site security. Two-Factor Authentication was enabled to secure administrator logins.
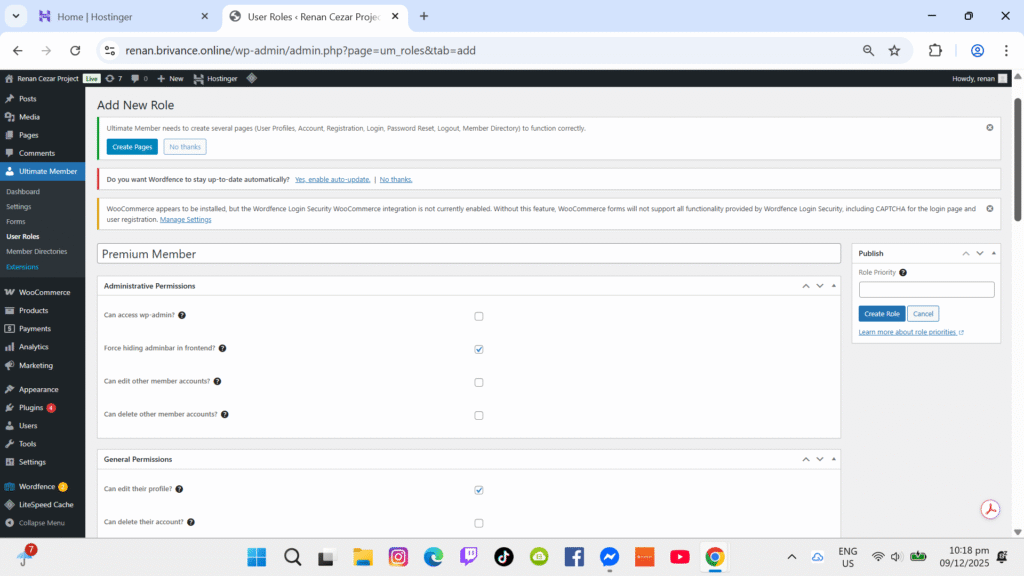
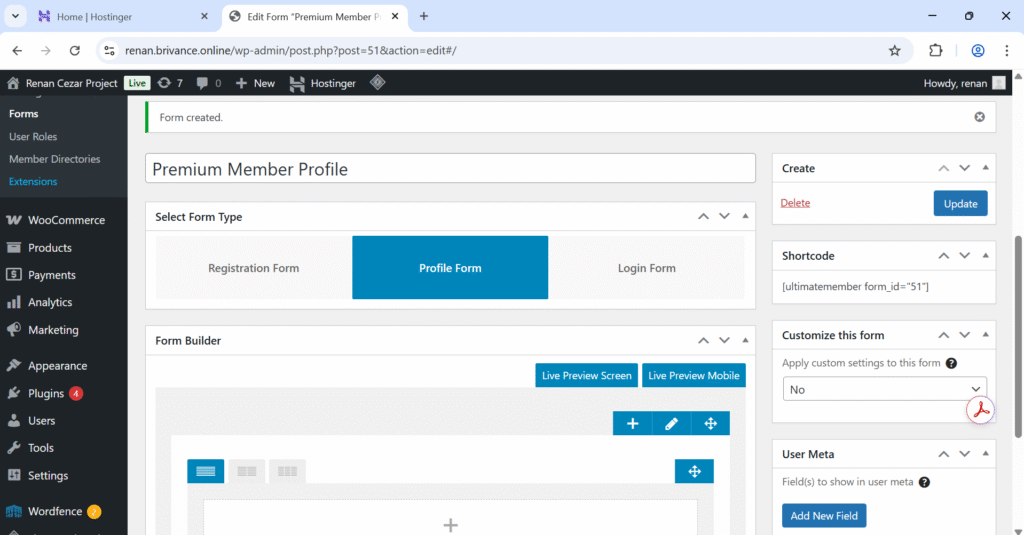
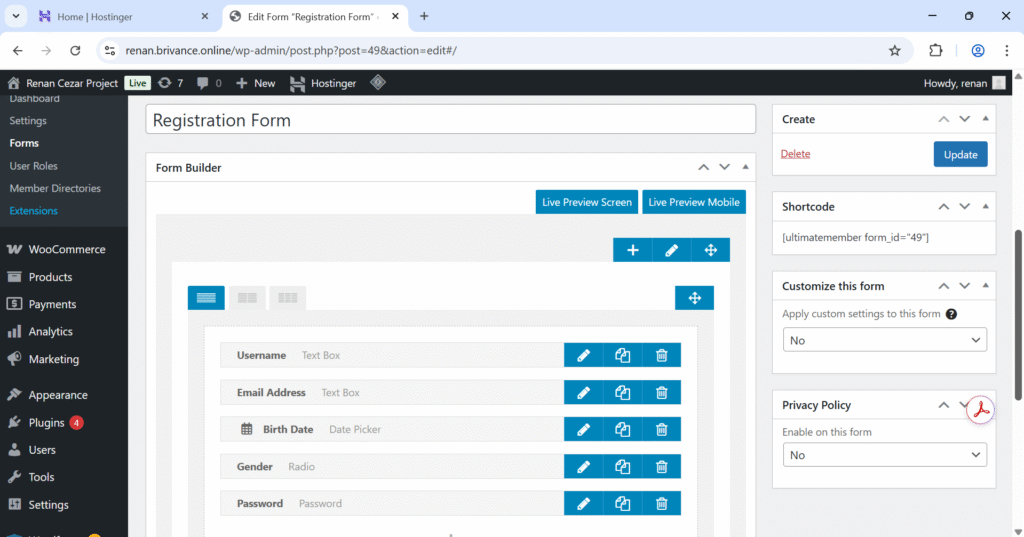
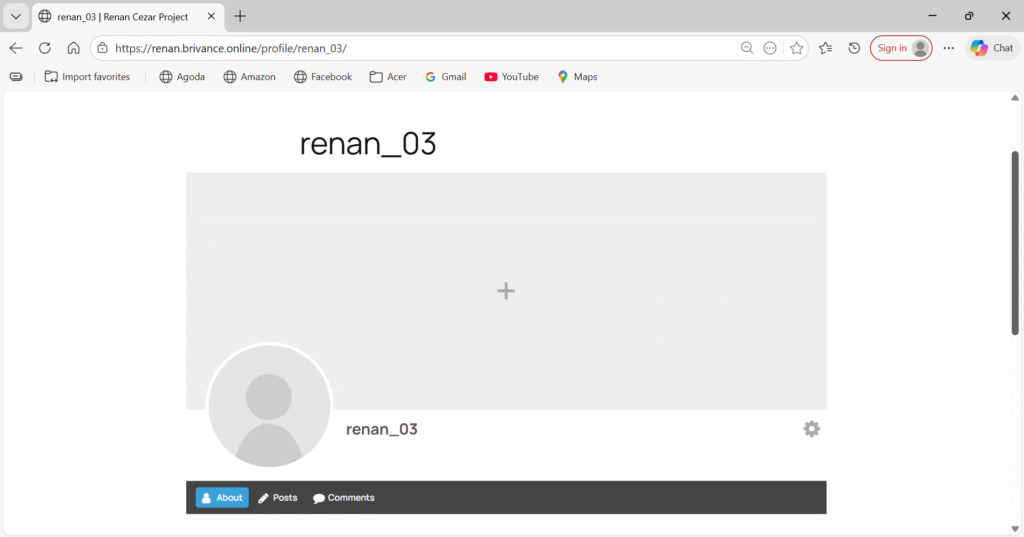
ULTIMATE MEMBER (USER ROLES)
Ultimate Member was used to manage user roles and restrict content visibility based on permissions.

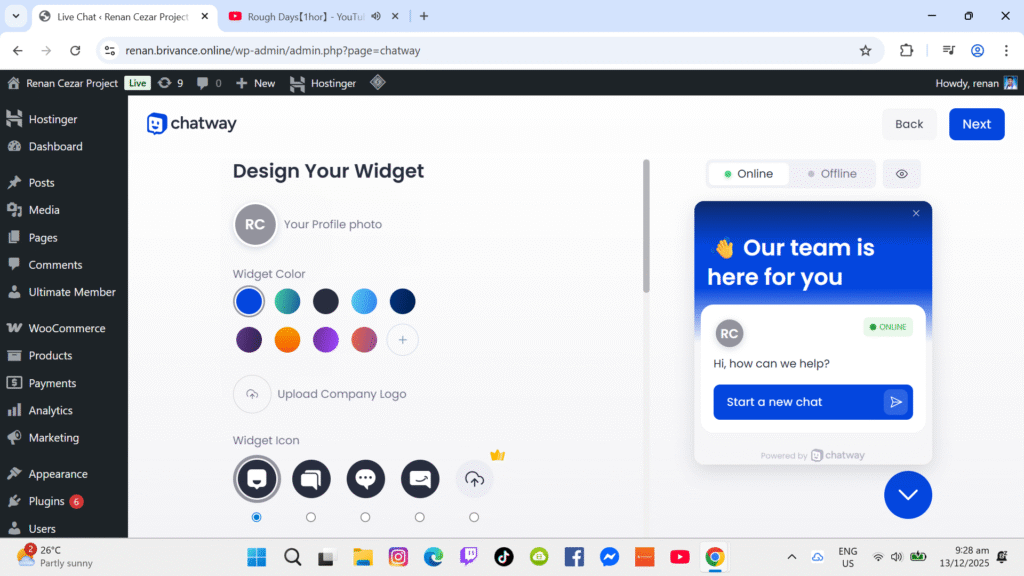
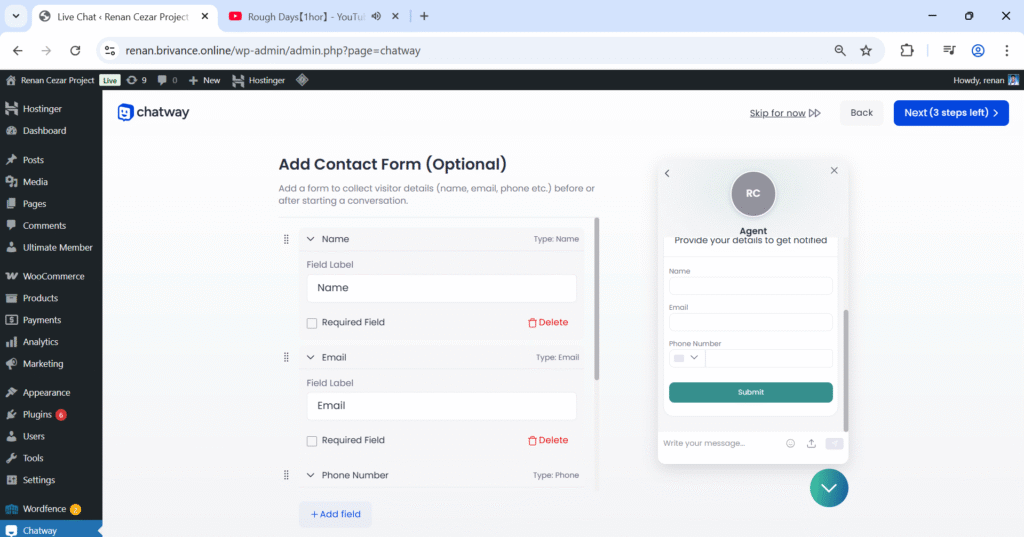
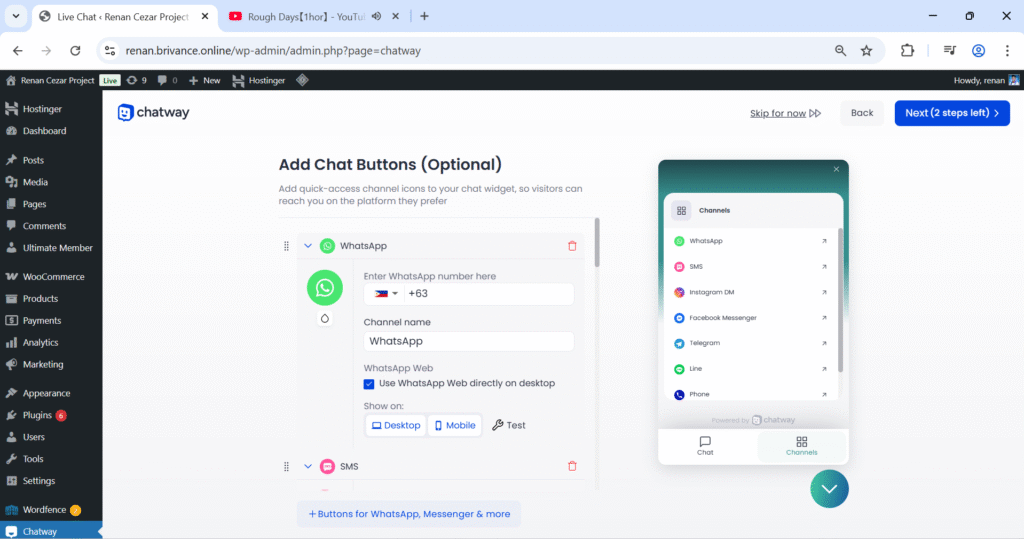
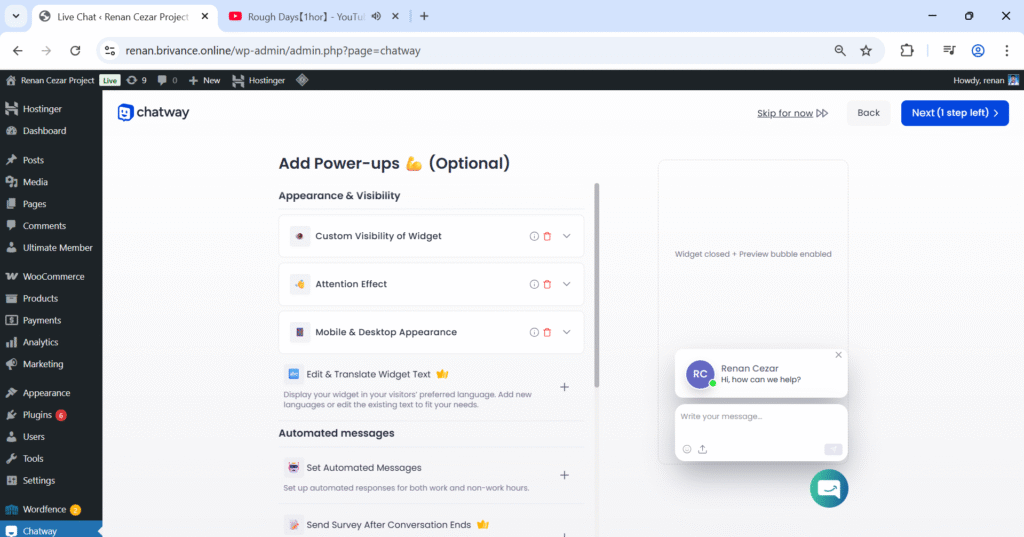
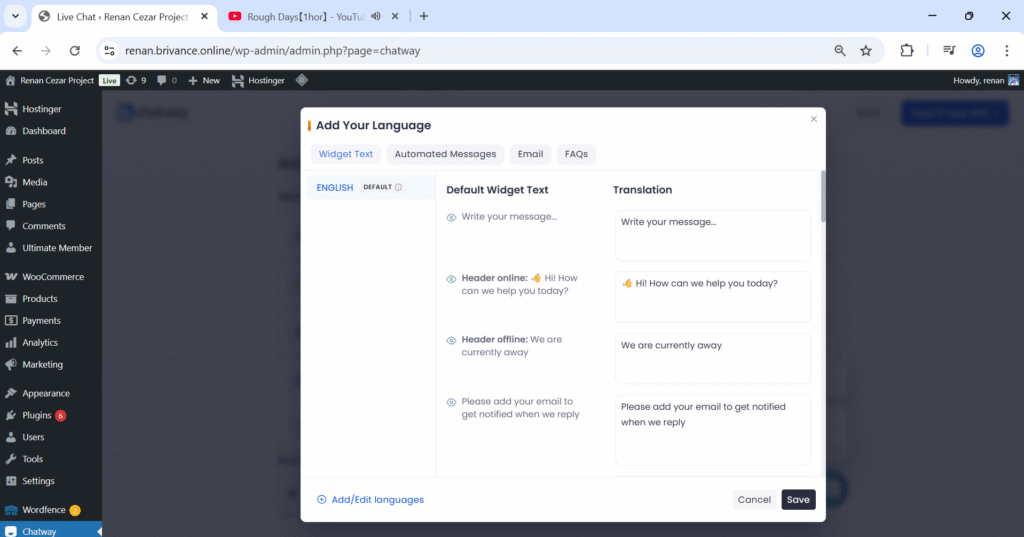
CHATWAY CHATBOT
The Chatway plugin provides real-time chat functionality. It was configured to display a chatbot widget on all pages.